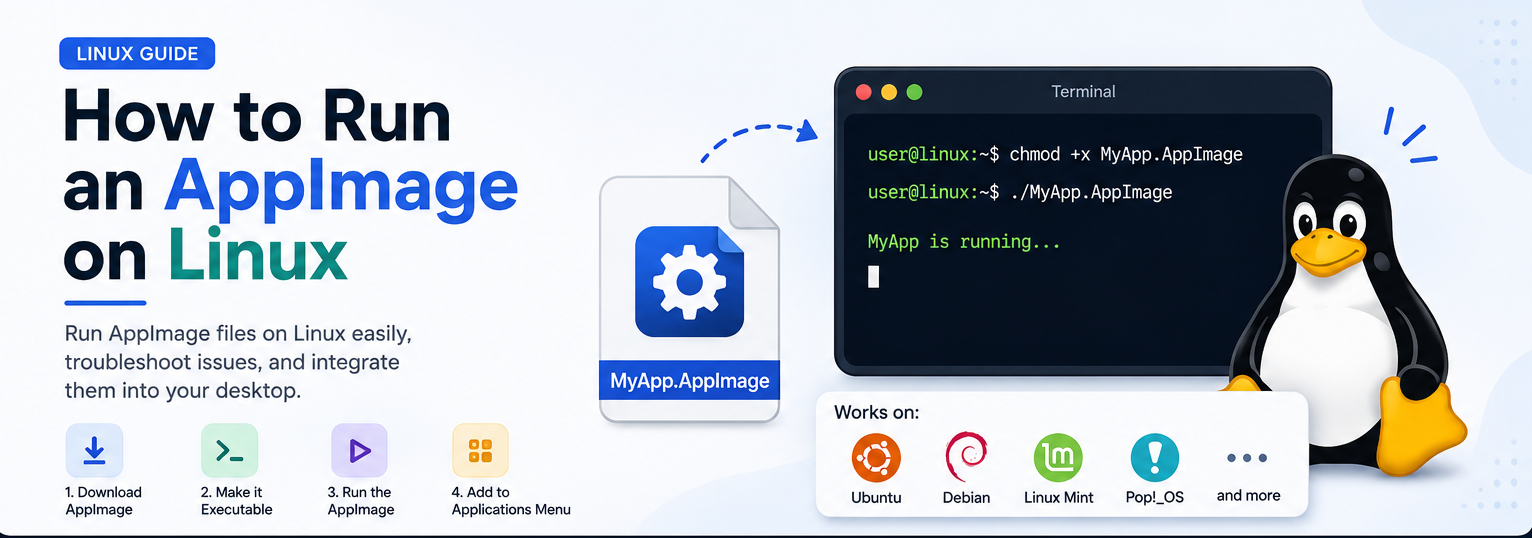
How to Run an AppImage on Linux
AppImage is one of the easiest ways to distribute and run applications on Linux. Unlike traditional packages such as .deb or .rpm, an AppImage doesn’t need to be installed. Everything the application needs is bundled into a single executable file, allowing you to run it on most Linux distributions with just a few commands.
Whether you’re using Ubuntu, Debian, Linux Mint, Pop!_OS, Zorin OS, or another compatible Linux distribution, the process is virtually identical.
In this guide, you’ll learn how to:
- Run an AppImage from the terminal
- Launch it using your file manager
- Troubleshoot common issues
- Add it to your applications menu for easy access
What is an AppImage?
AppImage is a portable application format for Linux. Instead of installing software through a package manager, you download a single file and run it directly.
Think of it as the Linux equivalent of a portable executable on Windows.
Benefits of AppImage
- No installation required
- Works on most Linux distributions
- Doesn’t modify system files
- Easy to move between computers
- Can be deleted without leaving leftover files
- Allows multiple versions of the same application to coexist
Step 1: Download the AppImage
Download the application’s .AppImage file from its official website.
For example:
MyApplication.AppImageIt’s usually saved in your Downloads folder.
Step 2: Open a Terminal
Navigate to the directory where the AppImage was downloaded.
Most browsers save downloads to:
cd ~/DownloadsYou can verify that the file is present by running:
lsYou should see something similar to:
MyApplication.AppImageStep 3: Make the AppImage Executable
By default, downloaded files aren’t executable.
Grant execute permission with:
chmod +x MyApplication.AppImageTo confirm the permission was applied, run:
ls -lExample output:
-rwxr-xr-x 1 user user 120M Jul 13 MyApplication.AppImageThe x characters indicate that the file is executable.
Step 4: Run the AppImage
Launch the application using:
./MyApplication.AppImageExample:
./kdenlive-26.04.3-x86_64.AppImageThe application should now open like any other Linux application.
Running an AppImage Using Your File Manager
If you don’t want to use the terminal, you can launch AppImages graphically.
- Right-click the AppImage.
- Select Properties.
- Open the Permissions tab.
- Enable Allow executing file as program.
- Close the dialog.
- Double-click the AppImage.
Depending on your desktop environment, the wording may vary slightly.
Troubleshooting
Permission Denied
If you see:
Permission deniedThe file isn’t executable.
Run:
chmod +x MyApplication.AppImageThen try again.
FUSE Errors
Some older AppImages require FUSE to run.
Install it using:
sudo apt update
sudo apt install libfuse2
Note: Modern AppImages often work without FUSE, but some older applications still depend on it.
Check Terminal Errors
If the application doesn’t start, run it from the terminal:
./MyApplication.AppImageThe terminal will display any error messages, making it much easier to diagnose the problem.
Add the AppImage to the Application Menu
Running an AppImage from the terminal every time can become inconvenient.
A better approach is to create a desktop launcher so it appears alongside your other installed applications.
Step 1: Create an Applications Directory
mkdir -p ~/ApplicationsMove the AppImage into the new directory.
mv ~/Downloads/MyApplication.AppImage ~/Applications/Ensure it’s executable.
chmod +x ~/Applications/MyApplication.AppImageStep 2: Create a Desktop Entry
Create a desktop file:
nano ~/.local/share/applications/myapplication.desktopPaste the following:
[Desktop Entry]
Version=1.0
Type=Application
Name=My Application
Comment=Launch My Application
Exec=/home/YOUR_USERNAME/Applications/MyApplication.AppImage
Icon=/home/YOUR_USERNAME/Applications/icon.png
Terminal=false
Categories=Utility;
StartupNotify=true
Replace:
YOUR_USERNAMEwith your Linux username.MyApplication.AppImagewith the actual AppImage filename.icon.pngwith the application’s icon path. If you don’t have an icon, simply remove theIcon=line.
Save and close the file.
Step 3: Make the Desktop File Executable
Run:
chmod +x ~/.local/share/applications/myapplication.desktopYour application should now appear in your desktop environment’s application launcher.
AppImage vs .deb Packages
| Feature | AppImage | .deb Package |
|---|---|---|
| Installation Required | ❌ No | ✅ Yes |
| Portable | ✅ Yes | ❌ No |
| Package Manager | Not Required | Uses apt |
| System Files Modified | ❌ No | ✅ Yes |
| Easy to Remove | ✅ Delete the file | Requires uninstall |
| Multiple Versions | ✅ Supported | Usually one installed version |
When Should You Use AppImages?
AppImages are a great choice when you want to:
- Try an application without installing it.
- Run multiple versions of the same software.
- Keep applications isolated from your system.
- Carry applications on a USB drive.
- Avoid dependency conflicts.
For software you use daily, installing through your distribution’s package manager may still provide better integration and automatic updates.
Conclusion
Running an AppImage on Linux is quick and straightforward.
The basic workflow is:
- Download the AppImage.
- Make it executable.
- Run it.
- Optionally create a desktop launcher for easier access.
Because AppImages are portable and self-contained, they’re an excellent way to use applications without installing them system-wide. Whether you’re on Ubuntu, Debian, Linux Mint, Pop!_OS, Zorin OS, or another Linux distribution, the process remains almost exactly the same.