If you’re building apps that send emails (like OTPs, invoices, or notifications), testing them safely without sending real emails is crucial.
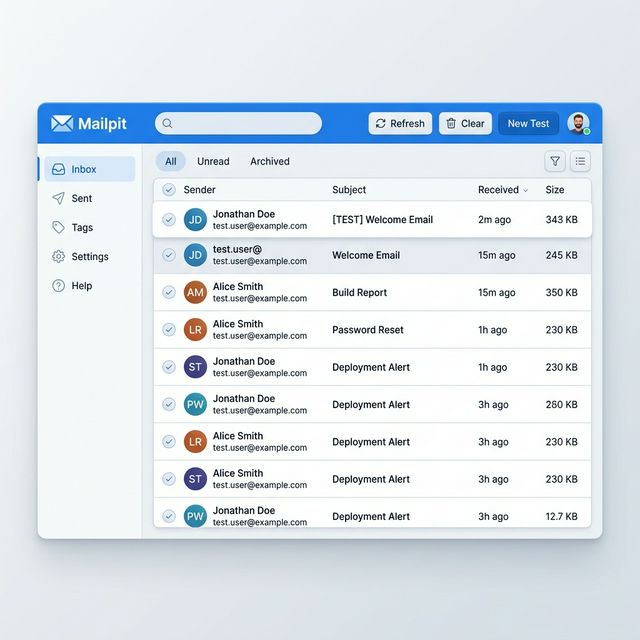
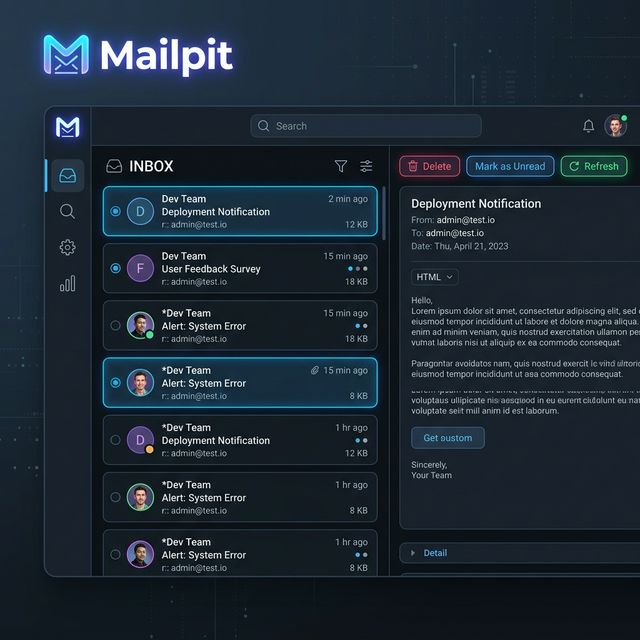
That’s where Mailpit comes in — a lightweight SMTP testing tool with a clean web UI.
In this guide, you’ll learn:
- How to install Mailpit (no Docker)
- Run it via terminal
- Change UI & SMTP ports
- Persist emails using a database
- Run it as a background service (systemd)
📦 What is Mailpit?
Mailpit is a local SMTP server designed for developers.
👉 Instead of sending real emails:
- Your app sends emails to Mailpit
- Mailpit captures them
- You view them in a web UI
Perfect for:
- OTP testing
- Email debugging
- Development environments
🛠️ Install Mailpit (No Docker)
Step 1: Download binary
wget https://github.com/axllent/mailpit/releases/latest/download/mailpit-linux-amd64.tar.gzStep 2: Extract
tar -xzf mailpit-linux-amd64.tar.gzStep 3: Move to system path
sudo mv mailpit /usr/local/bin/Step 4: Make executable
sudo chmod +x /usr/local/bin/mailpit▶️ Run Mailpit (Basic)
mailpitDefault ports:
- 🌐 Web UI → http://localhost:8025
- 📩 SMTP → localhost:1025
🔧 Run with Custom Ports
Newer versions use:
--listen→ Web UI--smtp→ SMTP server
Example:
mailpit --listen 0.0.0.0:8090 --smtp 127.0.0.1:2525Result:
- Web UI → http://localhost:8090
- SMTP → 127.0.0.1:2525
🔐 Bind to Specific Interfaces
Public access:
mailpit --listen 0.0.0.0:8090Local-only (safer):
mailpit --listen 127.0.0.1:8090💾 Persist Emails (Optional Database)
By default, emails are stored in memory and lost on restart. To persist:
mailpit --database /var/lib/mailpit.db👉 This creates a SQLite database file, separate from your app database.
⚙️ Run Mailpit in Background
nohup mailpit > mailpit.log 2>&1 &🧾 Create a systemd Service (Recommended)
Step 1: Create service file
sudo nano /etc/systemd/system/mailpit.serviceStep 2: Add config
[Unit]
Description=Mailpit Email Testing Server
After=network.target

[Service]
ExecStart=/usr/local/bin/mailpit
Restart=always
RestartSec=5
User=root

[Install]
WantedBy=multi-user.target
Step 3: Enable & start
sudo systemctl daemon-reload
sudo systemctl enable mailpit
sudo systemctl start mailpit
Step 4: Check status
sudo systemctl status mailpitNow to bind the mailpit to a specific ip and port
[Unit]
Description=Mailpit Email Testing Server
After=network.target

[Service]
ExecStart=/usr/local/bin/mailpit --listen [IP_ADDRESS] --smtp [IP_ADDRESS] --database /var/lib/mailpit.db
Restart=always
RestartSec=5
User=root

[Install]
WantedBy=multi-user.target
🔍 Debugging Issues
Check logs:
journalctl -u mailpit -fTest manually:
mailpit --listen 0.0.0.0:8090Check port usage:
sudo lsof -i :8090🔥 Firewall Setup (if needed)
sudo ufw allow 8090🧪 Example: Using Mailpit with Node.js
{
  host: "127.0.0.1",
  port: 1025,
  secure: false
}
👉 Works perfectly with Nodemailer.
🧠 Key Takeaways
- Mailpit is a fake SMTP server for development.
- It does NOT use your app database.
- Emails are:
- Temporary (default)
- Persistent (if using
--database)
- New versions use
--listeninstead of--ui.
🚀 Final Thoughts
If you’re building anything involving emails, Mailpit is a must-have tool in your dev workflow. It’s:
- Fast ⚡
- Lightweight 🪶
- Super easy to set up 🔧